A picture tells a story without words.
Having professional photos throughout your website will help you convey your message, show quality, gain their trust, and build a professional relationship. Great photos can make or break your business’ brand so it’s ultra-important in the very beginning to get it right.
But it’s not only about what you’re showing on the images. You also need to consider how the photo is going to be used on the website, the orientation of the main subject of the photo, file size and resolution for optimal viewing, and more. Whether it is a new website or a redesign, it is always a top priority to make sure that you have right images.
It might seem like a daunting task to put together the images and photos for your website. Follow the guidelines laid out in this guide, and you will have a picture-perfect website in no time.

Photos of You
If YOU are your business, then having the right images of yourself is especially important. If you are a coach, consultant, author, speaker, service provider, or any other business in which people are buying YOU, making sure you conveying the right message about you as a professional through your images can make all the difference.
There are several different styles of personal photos that you can use for your website. It is suggested you use different photos of yourself throughout the site, not just your one headshot.
Here are the various types of photo styles to capture for your personal photos.

What Makes a Good Headshot?
There is an art to getting a good headshot, so here are a few tips to keep in mind.
A good headshot...
- Captures you looking directly at the camera. Eye contact is one of the most important elements of a great headshot.
- Has good lighting on your face. Beware of weird shadowing.
- Showcases the personality you want to give off. This is what makes it memorable.
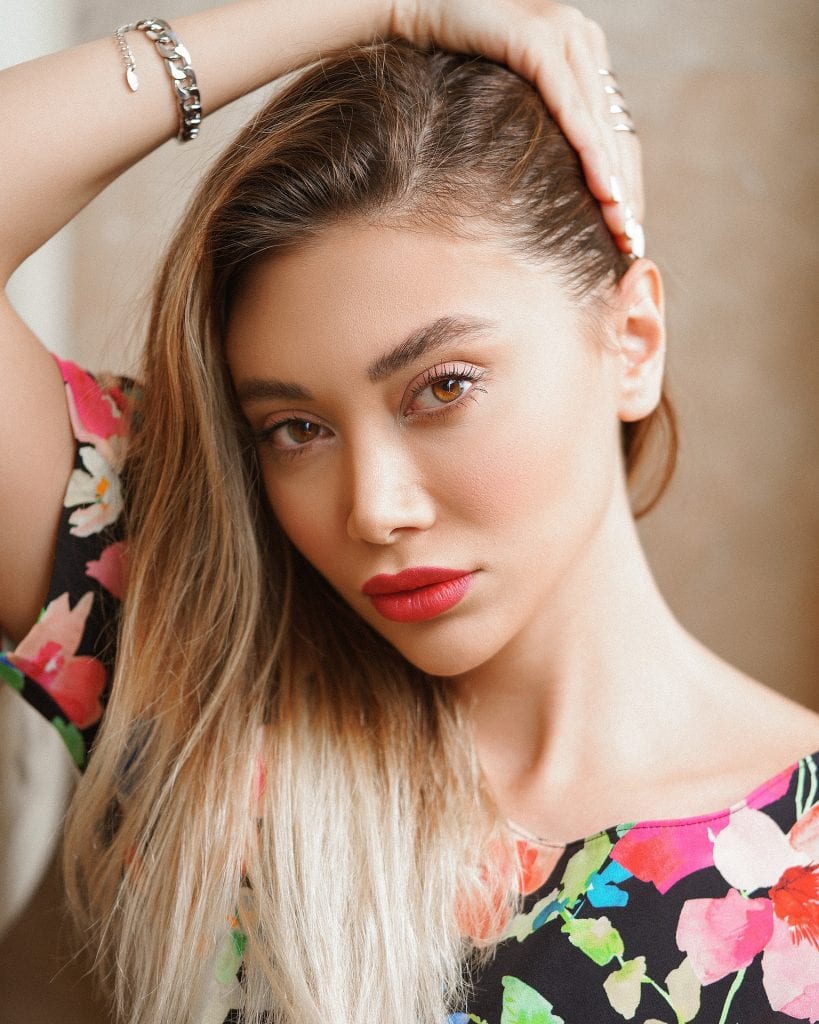
Headshots and Profiles
This is a close-up from your shoulders to top of head. Look straight at the camera but angle your head slightly one way. This is not a mug shot! Profile photos have you looking off to the side of the camera, and you may not be making eye contact here.


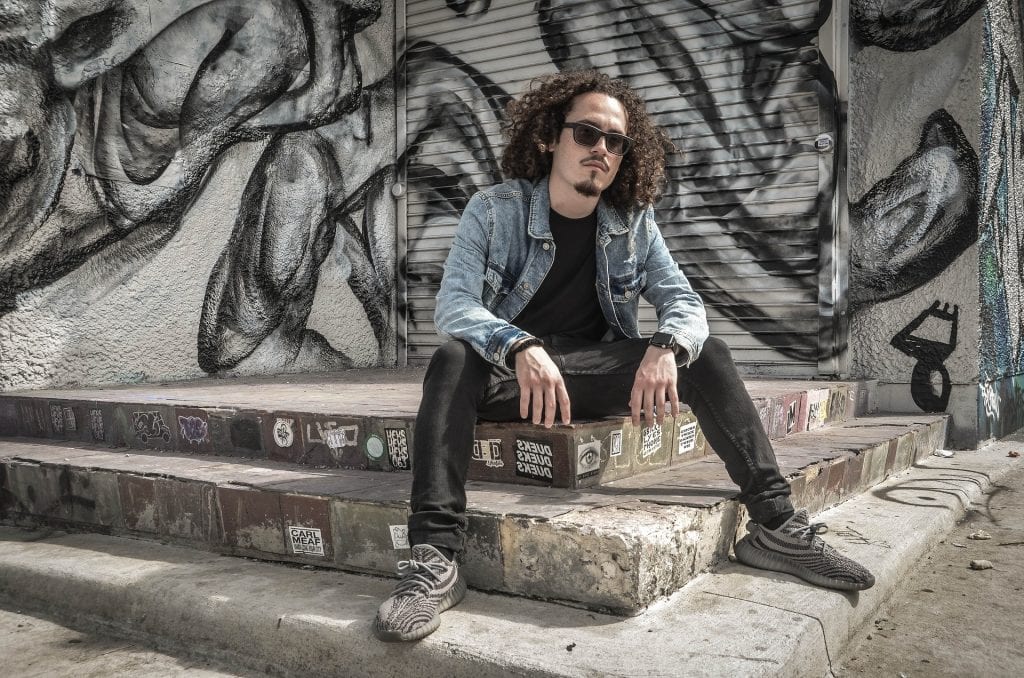
¾ View or Waist Up Poses
This is shot from the knees or waist to the top of the head. To capture the most flattering look, you will want to lean your body slightly to one side, put one foot in front of the other, pull your shoulders back and your waist tucked in.
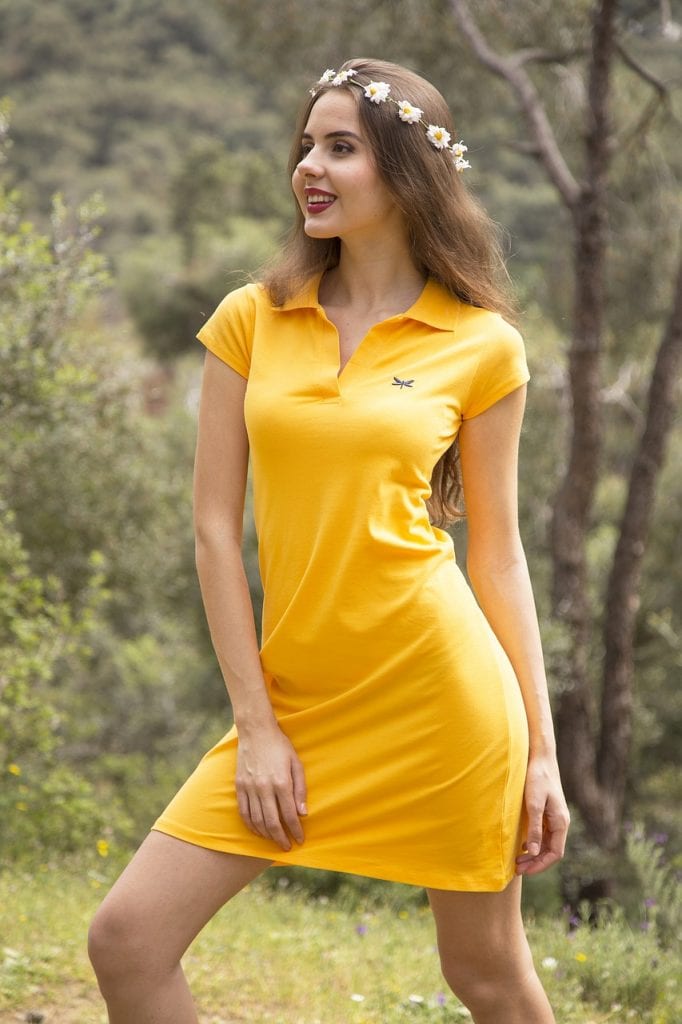
Full Body Poses
This shot captures you from the feet up. Show some personality by turning your shoulders slightly with your hands on your hips, or put your foot up and lean on your knee. Use a prop if it makes sense.


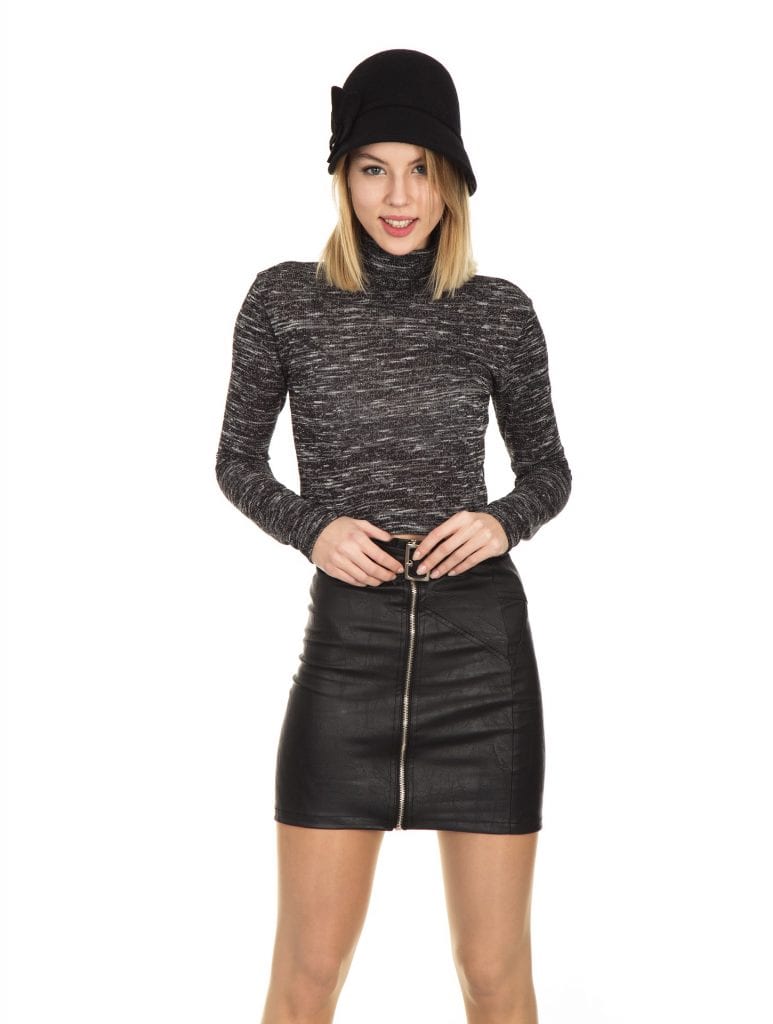


Transparent Background for Overlay
If you want to take your photo, whether it is a headshot or full body, and overlay it on top of your web page over another image, you will need to “cut out” your image and make the background transparent.
Your web designer or graphics person may be able to do this for you, but you will need to send them the right kind of photo. You will need a white background preferably, or a single solid color that is in stark contrast to you and your clothing. That way a clean “cut out” can be done.
PHOTO TIP
Make sure your visitors can see your spirit and personality through your photos. Put forth your vibe, show your humor, be yourself. Let them see who you and your brand REALLY are!
Images for Your Website
The images on your website are just as important as the content on your website. Selecting the right images plays a big role in representing you and your brand and connecting to your target audience.
But it’s not only about what you’re displaying on the images. There are a few other things to consider if you want to use images on your website correctly.


Make Them Related to Your Brand
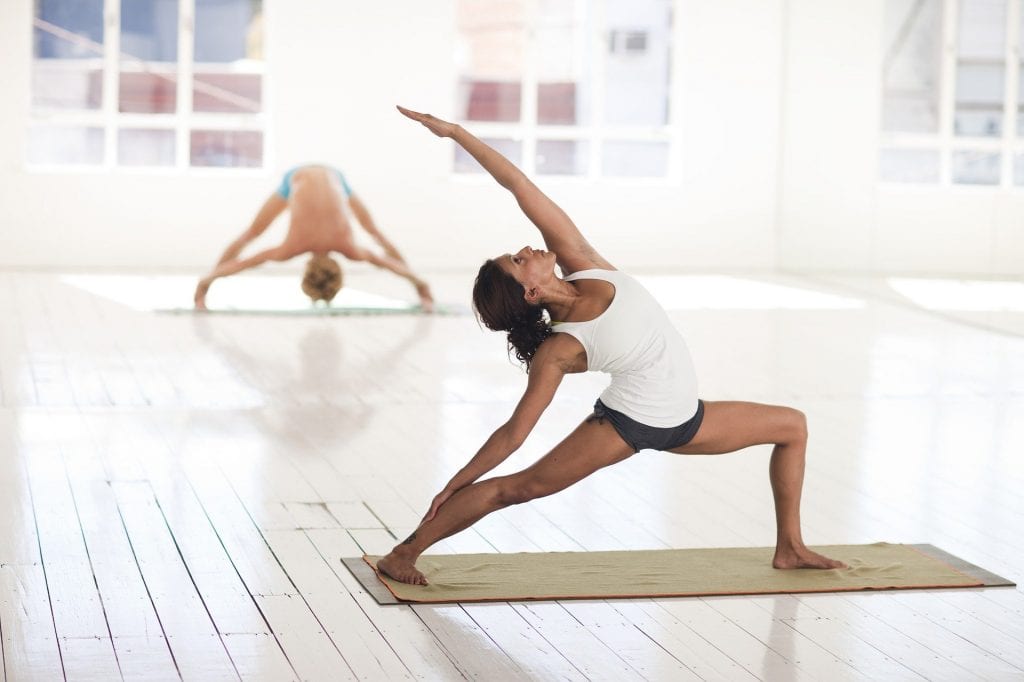
Remember, your images tell a story. No matter what your business is selling, or the purpose of your website, the images you pick have to be relevant to your brand and what you want to achieve.
For example, if you are in the fitness, you should portray images of wellness and health. If you are in real estate, have high quality images of beautiful exterior and interior photos, like a high-end kitchen.


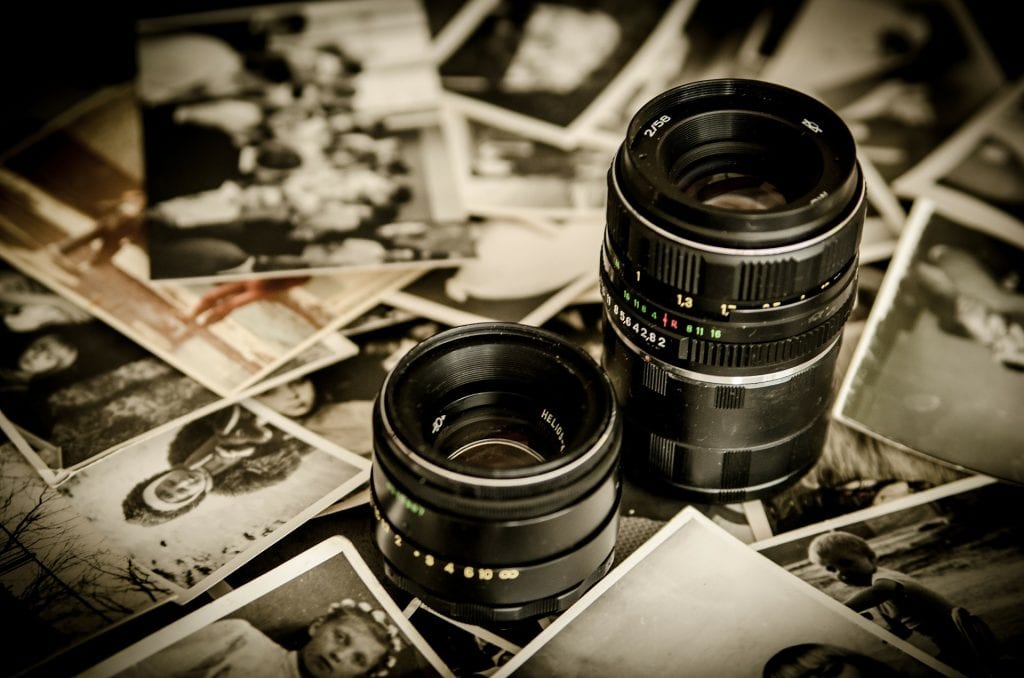


Use Stock Photography, But Choose Wisely
Some people frown upon using stock photos. But with new websites coming online all the time with free for commercial use images, your options can be endless. If you spend some time digging through the options, using different search keywords, you just might find some treasures that will perfectly tell your story.
Here are a few of the stock photography sites that we know offer royalty-free photos and graphics for your website.
Pixabay
Unsplash
PicJumbo
SplitShire
First Impressions:
Make Your Hero Section Shine
The very first thing that your visitors will see upon arriving at your website homepage is your Hero section. This is the large image area that can contain one or more images, headline and call to action, and most likely a button to guide them further into your site.
So you want to make sure that your imagery in the Hero section tells the perfect story for your brand. Choose the right image that works with the space and your message.
We prefer horizontal photos rather than vertical as it needs to stretch across the entire webpage. Also make sure to position the main focus of the image center, left, or right of frame. This will give us room to add text and graphic elements over the image.
**The preferred size for your Hero section image, you should be 1900 pixels wide.

Images File Types
Should I Use JPG or PNG?
Are you uncertain what kind of file type is to be used where? For most of the images on your website, you’re most likely to use a JPEG (JPG) or a PNG format. Let’s walk through it.
JPG / JPEG: This type of file should be used for photographs, as they can be relatively small in file size, but they still look crisp and beautiful. When used, you won’t need to worry about having a enormous file, which will help with the load time of this image and not slow down your website.
PNGs: This type of file should be used for mostly graphics, including most designs, infographics, and images that are text-heavy. PNGs also support transparent background, which is what you’ll want to use for a logo.


Images Sizes (They Matter...)
Resize Images to Optimize Page Speed and Appearance
With web images, you want to find the right balance between size and resolution. The higher your resolution, the larger the file size will be.
A 15MB (megabyte) photo is a huge file. A 125KB (kilobyte) file size is much more reasonable.
When using images for print, high resolution images are a good thing. But on the web, large size, high resolution images can slow down your website’s page speed. This can frustrate your users and, possibly, your search engine ranking. Big images and slow load times are especially annoying for mobile users.
Here is a little cheat sheet for using web images:
Optimal file size: Large images or full-screen background images should be between 500kb and 1MB max
Most other small web graphics can be 300 KB or less.
Full-screen background: for your Hero section or any other header image, you should upload an image that’s 1900 pixels wide.
Resolution for web images: If you have the option, always “Save for web” which will give your image a web-friendly resolution.
You can make a large image smaller, but it’s very hard to make a small image bigger. It will not be clear and crisp.